
After I hadn't been able to find a way to reject the Windows Vista Starter EULA in software, I decided to get into the BIOS setup utility of my Acer Aspire 4320 to make the notebook boot from a CD and just install Ubuntu 7.10 desktop on the entire hard disk drive. So I turned the notebook off and back on again while holding F2. And was greeted again with the EULA window. Esme was still there and said to me that I had to hold the power button a few seconds to turn the notebook off...
So again I turned the Aspire off, but kept holding the button for a few seconds. Then I turned it back on, and pressed F2, which according to page 42 of the User's guide that came with the notebook, would activate the BIOS utility.
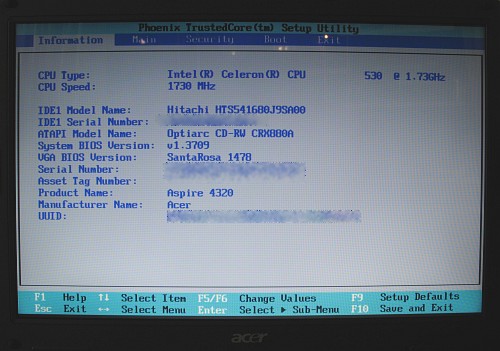
And indeed, the BIOS setup utility information screen appeared on my notebook, see above photo. Note that some parts of the photo have been made unreadable with IrfanView.
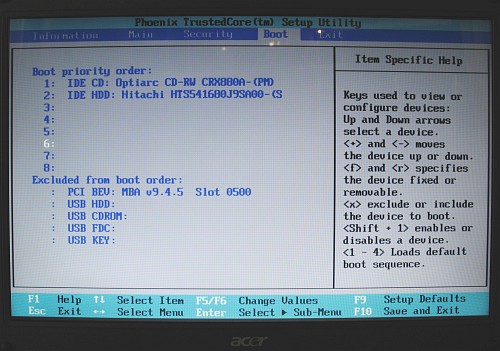
With the right arrow I navigated to the boot tab to get into the boot options screen. And there the first problem showed up: somehow I couldn't reorder the boot order with the + and - keys. I even tried to use the numeric keypad mode, Fn + F11 (Bloq Num). But, as they say here: nada. Then I tried the x key to exclude a device, which worked. And I could put it back from the excluded list by selecting the device and pressing x again. So I simply reordered the list by moving each device to the excluded list, and move the devices I wanted in the boot list back by pressing x. This way I got the Sony Nec Optiarc CRX880A combo as the first boot device, and the Hitachi Travelstar 5K160 (HTS541680J9SA00, 80G 5400 RPM) as the second boot device.
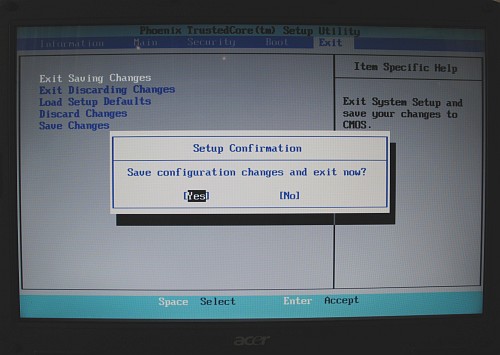
Next I inserted the Ubuntu Gutsy Gibbon CD I burned into the combo drive, moved to the exit screen of the BIOS setup utility, and selected the first option in the menu: Exit Saving Changes. The notebook rebooted and soon I was greeted with the Ubuntu Gutsy Gibbon boot options menu.
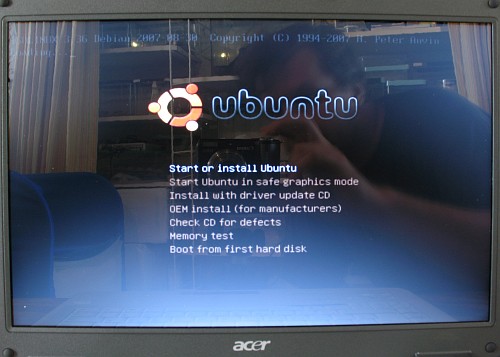
The first option, Start or install Ubuntu, was selected and a count down started. Since I was taking photos, documenting the erasing of Windows Vista Starter in order to get a Windows tax refund from Acer, I let the count down run its course, since the default option was what I wanted anyway.
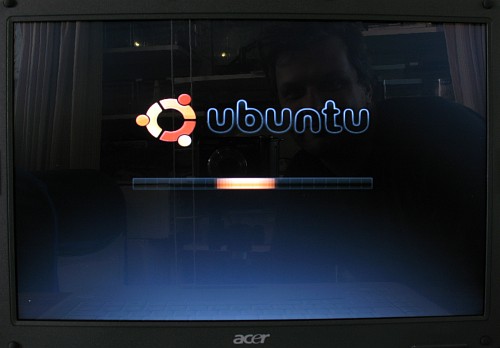
When the count down ended the boot options menu was replaced with the word Ubuntu with a progress bar underneath. After several minutes the Ubuntu desktop appeared on my Acer Aspire notebook for the very first time.
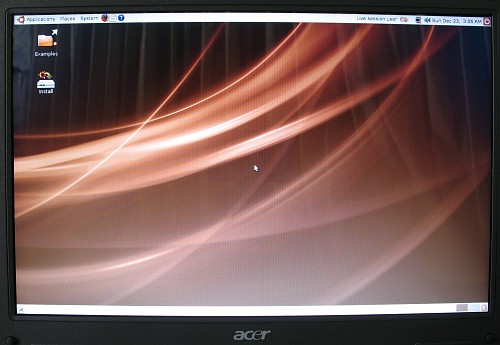
I double clicked the Install icon on the Gnome desktop to start the actual installation process of Ubuntu 7.10 (Gutsy Gibbon) desktop on my Acer Aspire 4320 notebook. The Install program was started and I was greeted with a welcom screen, ready to install?
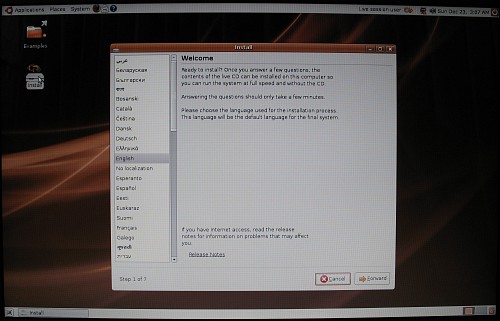
At the bottom of the window I read: "If you have Internet access, read the release notes for information on problems that may affect you.". Internet access, good point. So I connected the Acer notebook to my Linksys WRT54GL router, mainly because I hoped that this way, during installation, Ubuntu would find the Internet connection, and configure the notebook correctly for network access.

I clicked on the Forward button to move on to the next screen which let me select a region and a time zone. After I had made the selection the time was correct, so I didn't have to correct it later on.

Next, after clicking on the Forward button, I was able to select the right keyboard layout. At first I thought the layout would be Latin America, but when I pressed the accent keys on the Acer notebook the right characters didn't appear in the test field. So I looked for España in the list of course I couldn't find since the list was in English. When I noticed my mistake, I selected Spain in the list. Since I was not 100% sure if eliminate dead keys did what I wanted, I looked up dead keys in Wikipedia. And indeed, it removes the pause after some keys that can be used to make accents on some letters. While programming Perl, the pause that follows, for example the '^' character, can be very annoying. In short: I selected "Spain - Eliminate dead keys". I pressed some special keys on the keyboard of the Acer Aspire 4320 and the right characters appeared into the test field.
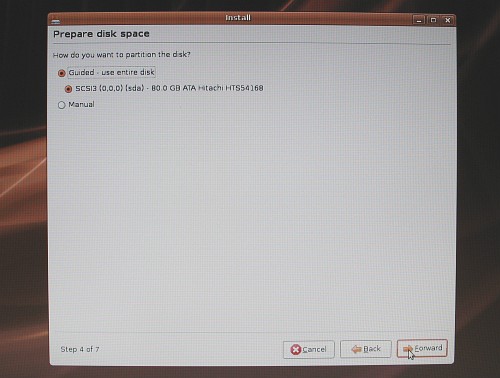
The next step was to me the most important one: prepare disk space. Since I wanted to reject the Windows Vista Starter license, I hadn't accepted the EULA, and now I was going to overwrite the entire 80 G notebook hard disk drive with Ubuntu. Since "use entire disk" was the default I pressed the Forward button to move to the next step.
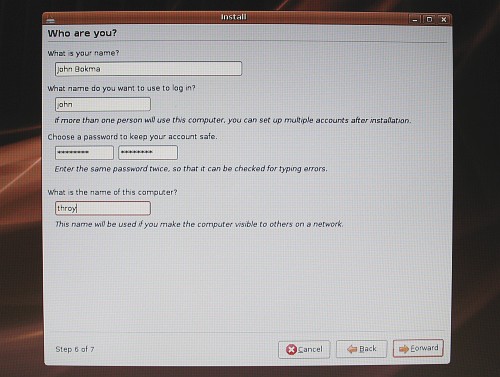
The next step in the installation process allowed me to enter my name, a login name, password, and a name for the notebook. I like to name my computers after planets mentioned in books written by Jack Vance. Since I couldn't come up with a nice name I hadn't used yet, I checked out the "Jack Vance" section in the list of fictional planets by medium at Wikipedia. I found one planet name that made me laugh:
If you're missing installation step 5 of 7, so am I. I guess that step 5 of 7 is the manual partition step, which I didn't see because I selected for "Guided - use entire disk".
Nopalgarth, mother planet of supposedly malignant mental parasites infecting humans, and others ...
Now that's a very appropriate name for an unsecured computer running a Microsoft operating system. And hence, I couldn't use it for my Acer notebook. Since I either had already used the name on the list, or didn't like the name much, I decided to settle with one not on the list: Throy, which is a continent on the planet Cadwal, which is on the list. Since my current development system is named Cadwal, I considered this an appropriate name.
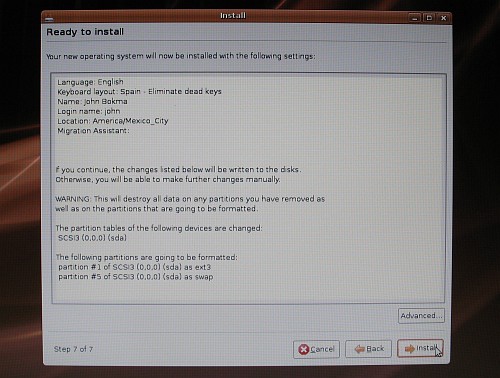
After pressing Forward I got to the final step, 7 of 7, which showed a short overview of the installation options I had selected and an Install button at the bottom of the Install window, a button which I clicked around 2:20 PM. And about 20 minutes later I was greeted by a dialog window that told me that the installation was complete.
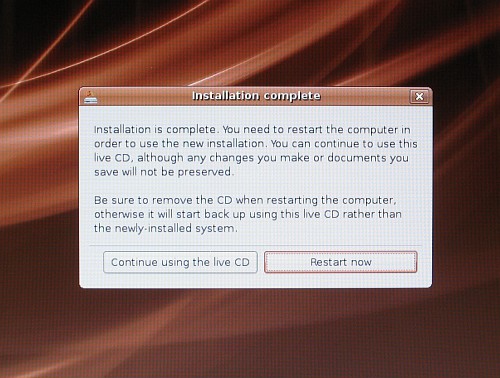
Since it stated "Be sure to remove the CD when restarting the computer ..." I tried to eject the Ubuntu installation CD. But the eject button didn't work, so I guessed (correctly) that Ubuntu had locked it, and decided to click on the "Restart now" button in the window and try to eject the CD later on, before the notebook was booting up again.
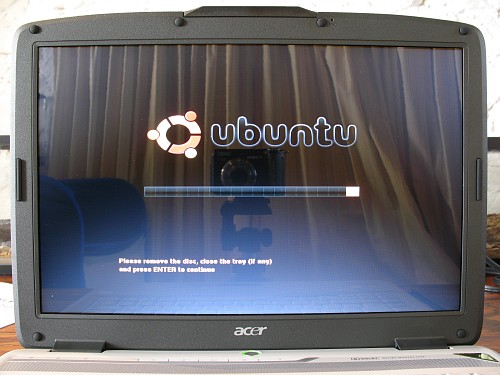
And shorly after the CD got ejected by Ubuntu, and a message on the screen made clear that I could remove the disc, close the tray of the drive, and press Enter. Which I did, and the notebook rebooted...
Finally I had the Ubuntu login screen on my Acer Aspire 4320 and I could login for the very first time and start with the post-install step.