
Last Tuesday, in the night, I started the download of Ubuntu 7.10 (Gutsy Gibbon) desktop edition (i386) using µTorrent. I prefer using a bittorrent client for downloading big files like an ISO image for an entire operating system, especially since my Internet connection is not a fast one. Moreover, I prefer to turn my computer off during the night, and µTorrent just continues with downloading the next day as soon as I am logged into Windows XP. And since µTorrent is not a resource hog, I can have it running while working at the computer.
Each time I want to download an ISO using a bittorrent client it takes me some time to find the location of the required torrent file at the Ubuntu web site. So today I decided to make some notes in this blog entry for future reference, and maybe it's useful to you as well:
Or in short, go to http://releases.ubuntu.com/7.10/. I hope that with the release of 8.4 I just can change the number in the aformentioned URL to get there in almost one go. The torrent for the Ubuntu 7.10 desktop edition is about halfway the page.
Last Tuesday I downloaded the torrent file from this page for http://releases.ubuntu.com/7.10/ubuntu-7.10-desktop-i386.iso.torrent so µTorrent could download Ubuntu 7.10 (Gutsy Gibbon) Desktop.
Today I verified the download Ubuntu ISO image with the md5sum program. I strongly suggest that you do the same with the ISO image you've downloaded before you burn it to a CD ROM or use it in another way.
If you don't know what the md5sum program is, or how to verify the integrity of the ISO image with it, read how to obtain the MD5 digest of the ISO image (HowToMD5SUM) at the Ubuntu web site.
You can obtain the digest by either downloading the MD5SUMS file via the same page as the torrent file or check the Ubuntu hashes page (a digest is also called a hash).
The output of md5sum for the ISO image I downloaded is as follows:
E:\usr\john\Downloads\finished-torrents>md5sum ubuntu-7.10-desktop-i386.iso
d2334dbba7313e9abc8c7c072d2af09c *ubuntu-7.10-desktop-i386.iso
which matches the digest given at both aforementioned locations.
Since Nero version 6 came with the BenQ DW1650 16x DVD ReWriter, which I used to replace the CD-ReWritable in my Compaq Presario, I decided to use the program to burn the Ubuntu ISO to an empty CD. I've written down the steps in case you want to use Nero as well, and haven't burned an ISO to CD before.
Note: you might want to read Installing and configuring Nero BurnRights if you want to burn the ISO with limited user rights.
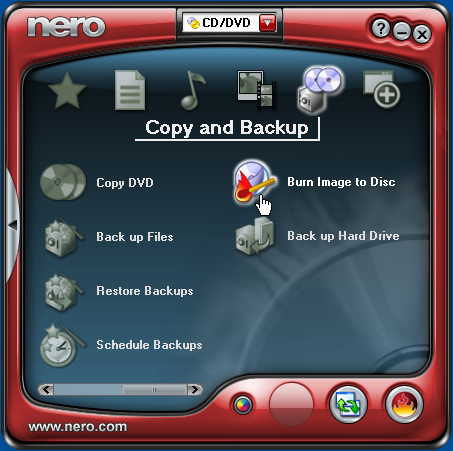
First insert a blank CD in the writer and start Nero StartSmart. Or if you prefer to use Nero Express directly, skip this paragraph. Hover the mouse pointer over the icon that looks like two CDs and a safe (Copy and Backup) near the top of the window. Next, move the mouse to the scroll bar (or slider) in the left corner of the Nero StartSmart window, and drag the slider to the right to reveal more options. Click on "Burn Image to Disc" in the right part of the window.
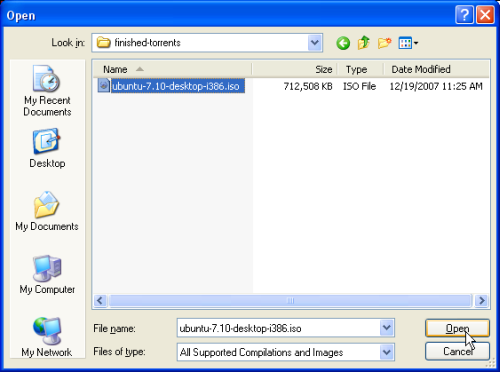
Nero Express is started, with the "Disc Image or Saved Project" option activated (or in case you skipped the previous paragraph, click on the option yourself). On top of the Nero Express window a second dialog window is openend which lets you select the ISO image file. Browse to the folder that has the Ubuntu ISO image in it, and select the file.
The Nero Express window changes to "Image Recording" mode. Now make sure that the destination drive is the right one if you have more than one recorder. Also make sure to turn on "Verify data on disc after burning". and press Next to start the actual burning and verification process.
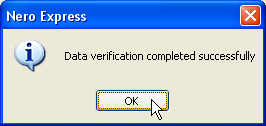
When the verification step is completed successfully a small dialog window pops up stating so. Press the OK button to close this pop up window. Then press the Next button of the Nero Express window, and your CD with Ubuntu on it should be ejected. Click "Exit" to close Nero Express.
While the CD was being burned I started with unpacking the Acer Aspire 4320.