
Over two years ago I created my first virtual machine running Windows XP. Back then I used the free VMware Player running on Windows XP. Nowadays, my main development operating system is Ubuntu 8.10 most of the time. Yet, for some projects I still have to fall back to Windows XP. VirtualBox had been for quite some time on my "must check out" list, and today I finally was able to make time to install VirtualBox Personal Use and Evaluation License (PUEL).
Some time ago I was not sure if I could use the PUEL version in a professional set up. I wrongly assumed that Personal Use excluded the use of the PUEL version within a company. But someone pointed out to me that the Licensing FAQ allows for this explicitly under 6. "What exactly do you mean by personal use and academic use in the Personal Use and Evaluation License?":
... It doesn't matter whether you just use it for fun or run your multi-million euro business with it. Also, if you install it on your work PC at some large company, this is still personal use. ...
Since the PUEL version of VirtualBox is not (yet) available via any of the default Ubuntu repositories, you have to manually add it. You can either do this in Synaptic Package Manager by selecting Repositories in the Settings menu, and adding a Third-Party Software source and copy pasting the following APT line:
deb http://download.virtualbox.org/virtualbox/debian intrepid non-free
or by manually editing
/etc/apt/sources.list, using for example vim:
sudo vim /etc/apt/sources.listand adding the following line to the bottom of the file:
deb http://download.virtualbox.org/virtualbox/debian intrepid non-free
Note: if you're not using Ubuntu
8.10 Intrepid Ibex make sure to replace
intrepid with the correct name for
your Ubuntu distribution, see:
Download VirtualBox for Linux Hosts.
Next, the public key for Sun, the current owners of VirtualBox, has to be added. Copy-paste the following two lines in a terminal. Make sure you include the backslash, which tells the shell that the first line continues on the second line.
wget -q http://download.virtualbox.org/virtualbox/debian/sun_vbox.asc \
     -O- | sudo apt-key add -
This should report "OK" in the terminal. Note that if you forget this step you get an error during installation: "The following signatures couldn't be verified because the public key is not available: NO_PUBKEY DCF9F87B6DFBCBAE ..."
Resynchronize the package index files from their sources using the following command:
sudo apt-get updateNow, if you perform a search on the available package lists the PUEL version should show up. Or better, by eliminating the Open Source Edition (ose) versions it should be clear which is the PUEL version:
$ apt-cache search virtualbox
vboxgtk - simple GTK+ frontend for VirtualBox
virtualbox-ose - x86 virtualization solution - binaries
virtualbox-ose-dbg - x86 virtualization solution - debugging symbols
virtualbox-ose-guest-source - x86 virtualization solution - guest addition module source
virtualbox-ose-guest-utils - x86 virtualization solution - guest utilities
virtualbox-ose-source - x86 virtualization solution - kernel module source
virtualbox-2.0 - Sun xVM VirtualBox
Next, install VirtualBox PUEL using:
sudo apt-get install virtualbox-2.0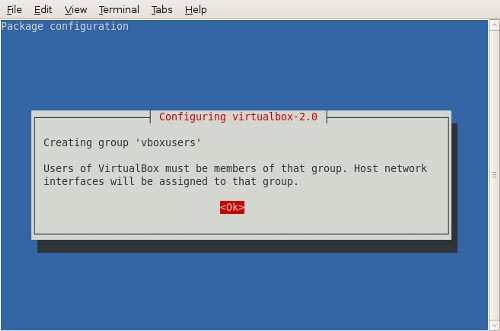
During installation you're greeted by a blue screen - don't panic - with a centered message box with the following message:
Creating group 'vboxusers'

Users of VirtualBox must be members of that group. Host network
interfaces will be assigned to that group.
Press Enter to activate the OK "button" under this message.
After the installation of VirtualBox PUEL has finished, enter the following command to add yourself to the VirtualBox group 'vboxusers', which as explained in the message during installation is a requirement:
sudo adduser $USER vboxusersNote that $USER should be copied literally; the shell replaces this automatically with your login name. If there are other users on your system that want to use VirtualBox as well, make sure to add each to the vboxusers group as well: in that case, repeat the above command with $USER replaced by the login name of the user.
In my case the command generated the following output in the terminal:
Adding user `john' to group `vboxusers' ...
Adding user john to group vboxusers
Done.
Next, log out and back in to become logged in as a member of vboxusers. I just restarted Ubuntu, which might be considered a bit drastic.
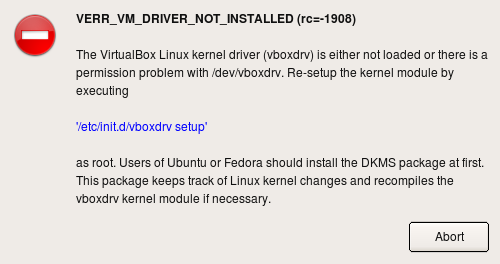
After I had logged back in, I started VirtualBox via the System Tools submenu of the Applications menu. Next, I tried to create my first VirtualBox virtual disk, and install Windows XP on it. But soon enough I was greeted by an error dialog window with the title "Error in suplibOSInit" with the following message:
VERR_VM_DRIVER_NOT_INSTALLED (rc=-1908)
The VirtualBox Linux kernel driver (vboxdrv) is either not loaded or there is a permission problem with /dev/vboxdrv. Re-setup the kernel module by executing
'/etc/init.d/vboxdrv setup'as root. Users of Ubuntu or Fedora should install the DKMS package at first. This package keeps track of Linux kernel changes and recompiles the vboxdrv kernel module if necessary.
I had read the note at the bottom of the VirtualBox Linux downloads page:
Note: Ubuntu users might want to install the dkms package (not available on Debian) to ensure that the VirtualBox host kernel module (vboxdrv) is properly updated if the linux kernel version changes during the next apt-get upgrade.
And although to me the installation of dkms (Dynamic Kernel Module Support framework) sounded optional in this note I had already installed it after I had added myself to the vboxusers group as follows:
sudo apt-get install dkmsBased on the error message it looks like this is a requirement, so I recommend to install dkms using the above command if you're using Ubuntu, like me, or Fedora.
Since I had already installed dkms I followed the "Re-set up the kernel module" advice given in the error dialog window:
sudo /etc/init.d/vboxdrv setupwhich returned the following output to the terminal:
 * Stopping VirtualBox kernel module
 *  done.
 * Recompiling VirtualBox kernel module
After this I could boot the virtual machine I had created and install Windows XP Professional in a virtual machine.
The only annoyance about VirtualBox - so far - is the registration form. It keeps popping up. To end this annoyance I entered a made up name and invalid@invalid.invalid as the email address.
Sidenote: never make up an email address that is valid, unless you registered the domain.