
CDex is a freeware CD ripper that I have been using several times to convert my music CDs to MP3s. CDex can extract audio CD tracks as wav files, or directly encode the tracks to mp3, VQF, FLAC, WMA, Ogg, and several other formats. The program can use CDDB to name and tag each track. Moreover, the program can also be used to convert wav files to mp3 files and vice versa.
Download CDex from SourceForge. Since I am using Windows XP professional I downloaded the Unicode Version of CDex 1.70 beta 2. After the download has finished install the program by double clicking on the downloaded file.
If you start CDex right after installation it's very likely that you get the following error:
Failed to load the wnaspi32.dll driver! Use the "Native NT SCSI library" driver option instead?
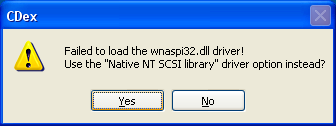
Copying the file wnaspi32.dll into "C:\Program Files\CDex_170b2" should fix this issue. Make sure that the dll file is readable by the user that runs CDex (see below). I found the three following sources for wnaspi32.dll:
Since I have Nero 6 installed I checked the wnaspi32.dll file that came with the installation. On my system it's identical to the one that's available on the Nero site at time of writing: 164,112 bytes, MD5SUM 6beafcb3de9010a7eaa9c42dead8e1a7.
When I copied the dll file on my system to the CDex folder, CDex still couldn't load it. The reason seems to be that CDex can only load wnaspi32.dll when it has Administrator rights. Since I prefer to work most of the time with limited user rights for security reasons I needed a solution for this issue. And I found one: installing Nero BurnRights.
Below follows an overview of the settings I use for ripping CDs with CDex. They might not be the best settings but they work for me. Select the Settings entry in the Options menu or press F4 to open the CDex configuration dialogue window.
Sadly, one has to change the settings with Administrator rights, and hence they will be identical for all users. I am somewhat amazed that there is still software written in such a crippled way. If you have limited user rights and access to an account with Administrator rights select CDex with the right mouse button and select the "Run as..." option to run CDex as a user with Administrator rights. Note that this is only required to configure CDex. After the program has been configured and Nero BurnRights has been installed and configured, CDex can be used with limited user rights.
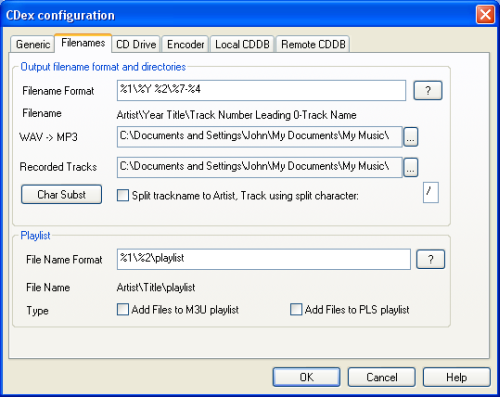
In the Filenames tab of the CDex configuration dialogue window I set the filename format to: %1\%Y %2\%7-%4, e.g. System of a Down\2005 Mezmerize\03-Revenga.mp3. I use the My Music folder for both the wav to mp3 conversion and for storing ripped tracks. Why CDex doesn't use the My Music folder by default is beyond me. Probably for the same reason why it can't be configured per user.
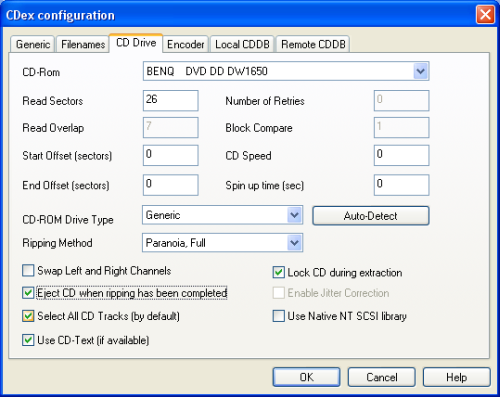
In the CD Drive tab of the CDex configuration dialogue window I set the Ripping Method to "Paranoia, Full", better safe than sorry, and ticked the "Eject CD when ripping has been completed" option.
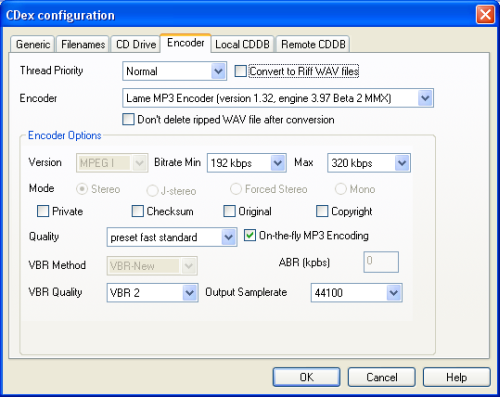
In the Encoder tab of the CDex configuration I only changed the minimal and maximal bitrate to 192 kbps and 320 kbps respectively. Variable bitrate encoding will select a higher bitrate (up to 320 kbps in this case) for more complex segments of audio and a lower rate (down to 192 kbps in this case) for less complex segments. See the Wikipedia article on Variable bitrate for more information.
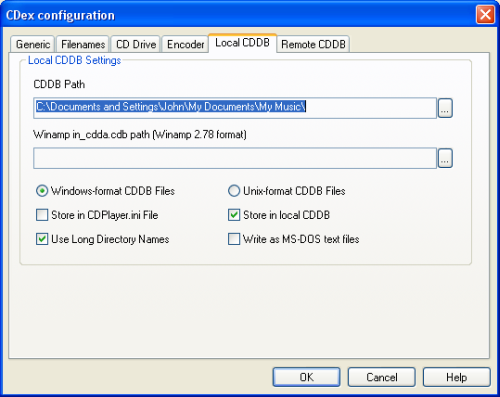
In the Local CDDB tab of the CDex configuration I set the CDDB Path to the CDDB folder I created in My Music folder. The same remarks as in the Filenames section hold: why hasn't the author of CDex decided on a better default and why isn't this a per user setting.
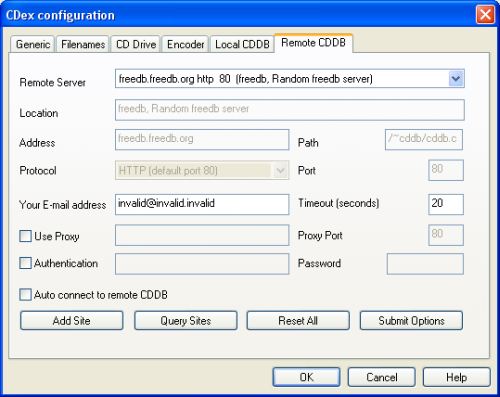
In the Remote CDDB tab of the CDex configuration I entered the email address invalid@invalid.invalid. If you don't want to use a real email address always make sure that the address ends in invalid. This value is reserved for invalid domains. Never make up your own domain or top level domain.
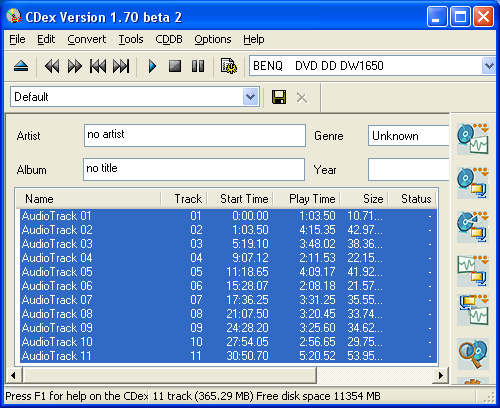
Insert an audio CD in the drive and start CDex. The program should show all available audio tracks on the CD with some additional information. If the tracks show up as AudioTrack 01, AudioTrack 02, etc. click the "Read remote freedb" entry in the CDDB menu in order to retrieve the title of the each track, the title of the CD, artist, etc.
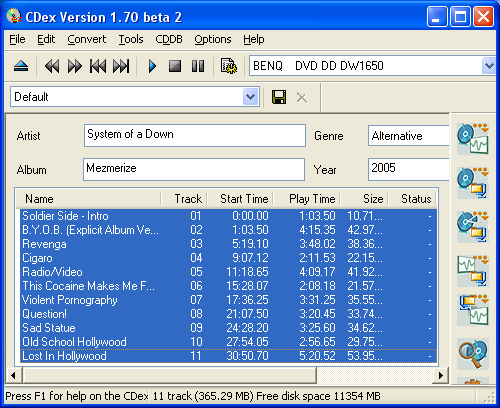
In some cases there are several results available for the audio CD you inserted. Pick the best one. If you notice a mistake, please fix the mistake in CDex. You can edit the track name by clicking on it, waiting a little and clicking again. Also check the Artist, Album, Year and Genre fields. If there is a mistake, please fix it and submit it back to freedb.

After you are done editing, submit the update back by selecting the "Submit to remote freedb" entry in the CDDB menu of CDex. Now others can profit from your editing as well.
If you're satisfied with the track and CD information select the audio tracks you want to rip and click the "Extract CD track(s) to a Compressed Audio File" entry in the Convert menu. Alternatively press F9 or click the second icon (CD to "zip") from above in the right toolbar pane. When the ripping process is finished the Status column should state "OK" for each track successfully ripped. If you set the Ripping Method to "Paranoia, full" in the CD Drive tab of the CDex Configuration dialogue window ripping of tracks should most of the time be successful. If tracks fail, select the failed tracks and start the ripping process again. You might want to give the audio CD a good cleaning before you try again.
If you want to store several ripped audio tracks from various audio CDs on single device for listening, for example a Creative Zen Nano, you might want to normalize the audio in order to give all tracks a similar volume. You can turn on normalization in CDex by putting a tick in the box in front of "Normalize" in the Generic tab of the CDex configuration dialogue window.

Note that in order to make this change permanent you have to make it with Administrator rights as explained in the Configuring CDex section above. For more information on normalization see the Wikipedia article on Audio normalization.